
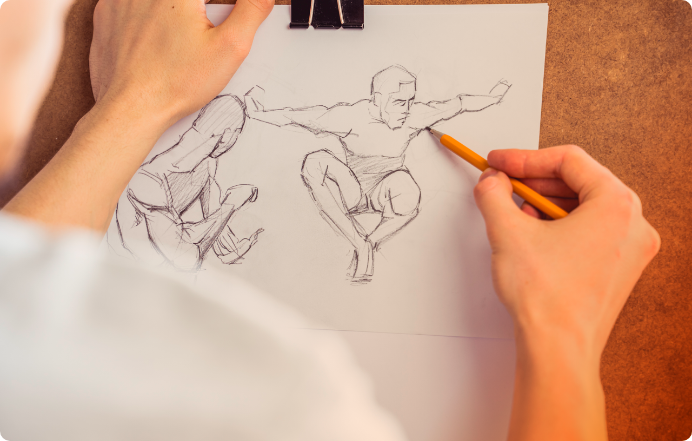
Ready to learn incredible drawing techniques? Learn about perspective, light, shadow, and much more!
If you’re one of those people who believes that paper is the stage where your imagination shines, then you’re in the right place. Grab your pencil, pen, and brush, and get ready for a fascinating journey through the world of drawing techniques. We’ll unleash your imagination and take you to places you never thought possible with your drawings!
After all, learning new drawing techniques will elevate your creations to a whole new level. Drawing techniques are like an artist’s magical tools; they have the power to transform simple lines into masterpieces and bring your drawings to life.
That’s why today Master will introduce you to incredible drawing techniques that will make your creativity soar even higher. Are you ready? So, let’s discover new ways to express your creativity! Come with us!
1. Perspective: Add Depth to Your Drawing
Want to add a sense of depth and volume to your drawing? Perspective is key! It’s a technique that allows you to represent three-dimensional objects on a two-dimensional surface. Mastering it allows you to create incredible illusions of depth, adding more realism to your artwork.
2. Light and Shadow: Brighten Your Drawing
The light and shadow technique is essential to bringing your drawing to life. It creates an interesting contrast that adds volume and depth to your art. It’s also a technique that requires a lot of practice, you know?
It involves representing lighting in your drawing. Learn to observe how light behaves on objects. Start by imagining where the light is coming from in your scene, for example. Areas facing the light source will be lighter, while opposite areas will be darker.
The Master Watercolor Wooden Pencil Kit, with its vibrant colors and soft lead, will be your great ally in creating incredible contrasts. Practice to create interesting color contrasts for your drawing!
3. Shading: Improve the Light and Shadow Technique
Like the light and shadow technique, shading is also used to add depth, volume, and the illusion of light to a drawing. Below, we explain some of the various shading techniques available. Master’s hexagonal pencil set with 36 colors is perfect for experimenting with each one!
– Smudge: Imagine you’re drawing a ball. To make it appear round and not just a flat circle, you need to add shadows. Smudge is as if you were “spreading” the shadow on the ball with your finger or a piece of paper, making the shadow soft and gradual. This gives the ball a more three-dimensional and realistic appearance.
– Hatching: Hatching is as if you were drawing several lines very close together, one next to the other, to create the shadow. The closer the lines are, the darker the shadow will be. This technique is great for creating different textures in your drawing.
– Crisscross: The crisscross technique is very similar to hatching, but in addition to the lines you’ve already drawn, you’ll draw other lines over them, but in the opposite direction, forming a sort of “grid.” This creates even darker shading and can be used to create interesting textures.
4. Texture: The detail that will make a difference in your drawing
Texture adds a touch of realism to your drawings, making them feel tangible. Practice your observation skills and try reproducing different textures in your creations!
The texture of a tree leaf, for example, is very different from the texture of a piece of fabric. Experiment with creating textures with shading techniques, such as hatching or blending. Master’s crayons are great for experimenting with different textures, thanks to their high coverage and smooth glide on the paper.